Instant Pot Setup: From Unboxing to Your First Pressure Cook
Are you the proud new owner of an Instant Pot, but find yourself staring at the box with a mix of excitement and apprehension? You're not alone! Many people purchase this incredibly versatile kitchen appliance only to feel intimidated by its array of buttons and the "pressure cooker" label. The good news is that learning how to use Instant Pot is far simpler and safer than you might imagine. This comprehensive guide will walk you through every step, from unboxing your shiny new cooker to successfully completing your very first pressure cook—the essential water test—building your confidence along the way.
Gone are the days of the loud, hissing stovetop pressure cookers that instilled fear in generations past. The modern Instant Pot is an electric, multi-functional kitchen marvel designed with numerous safety features, making it incredibly user-friendly and a fantastic way to get healthy, delicious meals on the table fast. It can function as an electric pressure cooker, slow cooker, rice cooker, sauté pan, steamer, and even a yogurt maker or sous vide device, depending on your model. While it might look complex, once you understand a few core principles and perform an initial setup, you'll be cooking like a pro in no time.
Demystifying the Instant Pot: A Modern Marvel
At its heart, the Instant Pot is an electric pressure cooker. Its magic lies in how it uses steam under pressure to cook food significantly faster than traditional methods, all while retaining nutrients and flavor. Here’s the fundamental principle: a heating element warms liquid inside a sealed pot, creating steam. As this steam builds, it generates pressure, which raises the boiling point of water and forces heat deep into your food, resulting in rapid, even cooking.
Unlike the stovetop models of yesteryear, the Instant Pot boasts sophisticated microprocessors that monitor temperature and pressure, automatically adjusting as needed. This means no more guesswork or constant supervision. It��s truly a set-it-and-forget-it appliance, making it one of the best ways to prepare healthy food quickly.
A crucial rule of thumb when learning how to use Instant Pot is the "minimum liquid" requirement. Because pressure cooking relies on steam, you almost always need at least one cup of liquid (water, broth, juice, etc.) in the inner pot to allow pressure to build effectively. While there are some exceptions and recipes that use more or less, one cup is a safe starting point for most dishes.
Your First Steps: Unboxing and Familiarization
The journey to mastering your Instant Pot begins with a simple act: opening the box. We know it sounds obvious, but many new owners leave their appliance packed away, feeling daunted by the prospect of learning a new gadget. Now is the time to embrace it!
Unpacking and Identifying the Pieces
Carefully remove everything from the box. You’ll typically find the following essential components:
- The Main Cooker Base: This is the body of the Instant Pot, housing the heating element, control panel, and various sensors. It’s where all the magic happens.
- The Inner Stainless Steel Cooking Pot: This removable pot sits inside the cooker base and is where your food and liquid go. Always ensure it's clean and properly seated before cooking.
- The Lid: A key component for pressure cooking, the lid features a silicone sealing ring on its underside, a float valve, and a steam release handle. The sealing ring is critical for creating an airtight seal, allowing pressure to build.
- The Stainless Steel Trivet: This metal rack often comes with your Instant Pot. It’s used for "pot-in-pot" cooking, steaming vegetables, or keeping food elevated above liquid. You won't use it for every recipe, but it's a handy accessory.
- The Electric Power Cord: This plugs into the back of the cooker base and then into a wall outlet.
Some models may also include a condensation collector (a small cup that attaches to the back to catch drips), an extra sealing ring (useful for keeping savory and sweet cooking separate), or a measuring cup. Take a moment to understand what each piece is for.
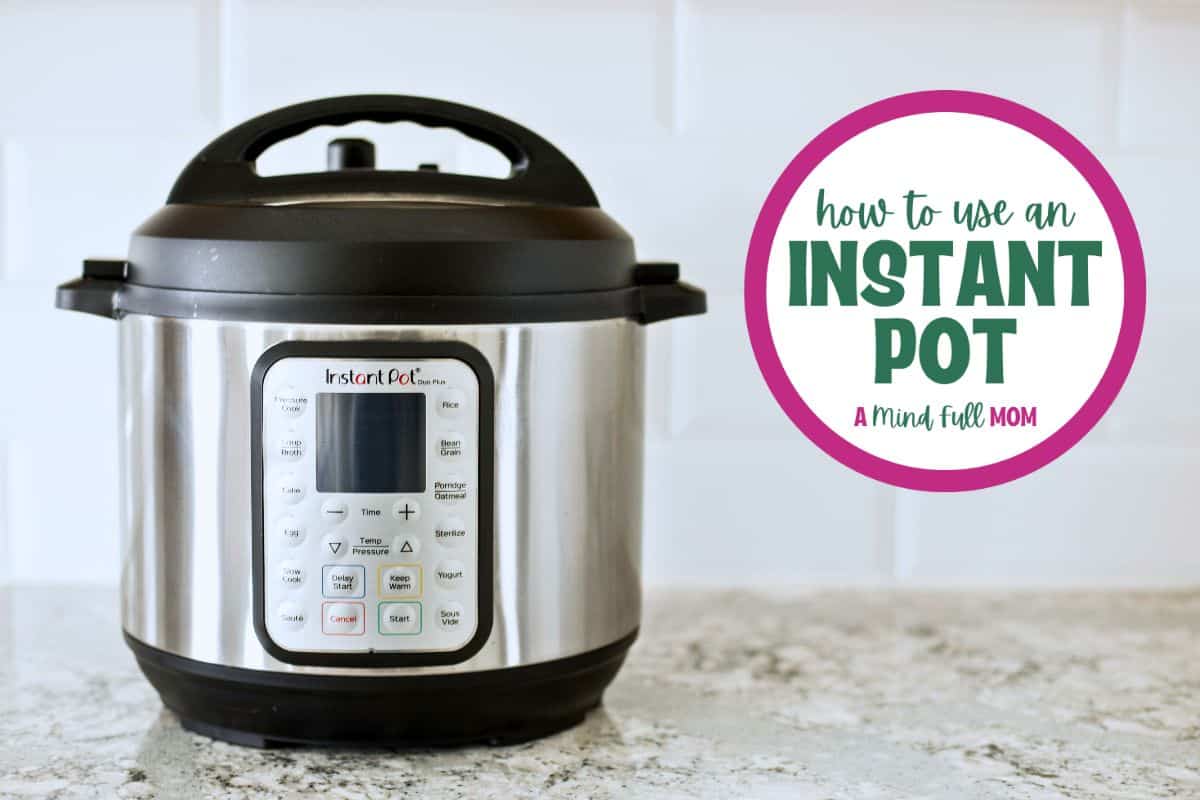
Familiarizing Yourself with the Control Panel
At first glance, the Instant Pot's control panel can seem overwhelming with its multitude of buttons. However, for most everyday cooking and certainly for getting started, you'll only need to master a few key functions. Let's simplify:
- Pressure Cook / Manual Button: This is your primary button for setting the cooking time for pressure cooking. Many newer models combine "Manual" and "Pressure Cook" into one button. You'll press this, then use the +/- buttons to set your desired cook time.
- Pressure Level Button: Most recipes call for High Pressure, which is typically the default. If your model has a "Pressure Level" button, ensure it's set to "High" for your initial test and most recipes.
- +/- Buttons: These are used to adjust the cooking time up or down.
- Cancel Button: Your emergency stop button. Press this to cancel any program, turn off the Instant Pot, or stop the cooking process midway.
For now, don't worry about the specific preset buttons like "Rice," "Soup," or "Bean/Chili." While these are convenient, understanding the core "Pressure Cook" function gives you maximum flexibility and control. To dive deeper into specific model features, you might find an Instant Pot Duo Beginner's Guide: Start Cooking Safely & Easily very helpful.
The Essential Water Test: Building Confidence
Before you cook any food, performing a "water test" is an absolutely crucial first step. This isn't just a recommendation; it's a vital exercise that:
- Familiarizes you with the basic operation of your Instant Pot.
- Confirms that your unit is sealing and building pressure correctly.
- Builds your confidence in using the appliance safely and effectively.
Think of it as a dry run that prepares you for successful future cooking. Here’s a step-by-step guide:
- Position Your Instant Pot: Place the Instant Pot on a stable, flat countertop or table. Ensure there’s plenty of open space above and around the pot, especially if you plan to use the quick release method, as steam will vent upwards.
- Insert Inner Pot & Plug In: Ensure the inner stainless steel pot is clean and properly seated inside the cooker base. Plug the power cord into the back of the Instant Pot and then into a wall socket. The display will likely show "OFF," indicating it's in standby mode.
- Add Water: Pour 2-3 cups of water (or any liquid) into the inner pot. This is more than the minimum 1 cup, but it provides enough volume for a good steam release during the test.
- Secure the Lid: Place the lid on the Instant Pot, aligning the arrow on the lid with the arrow on the cooker base. Twist the lid clockwise until it locks into place and you hear a chime. Now, ensure the steam release handle (the knob or button on top of the lid) is set to the "Sealing" position. On some models, this means turning the handle to point backward; on others, it's a button you push down or a lever you slide. This is critical for pressure to build.
- Set the Program: Press the "Pressure Cook" (or "Manual") button. Use the "+" and "-" buttons to set the cook time to 2-5 minutes. The Instant Pot will automatically default to High Pressure, which is what you want for this test.
- Start Cooking: After a few seconds, the display will change from showing the time to "On." This means the Instant Pot is now preheating and building pressure. This pressurizing phase can take 5-15 minutes, depending on the temperature of your liquid. You'll hear some gentle sounds, and the float valve (a small metal pin next to the steam release) will rise and lock once full pressure is reached. Only after the float valve rises will the countdown timer begin.
- Release the Pressure: Once the cook time finishes, the Instant Pot will beep and switch to "L0:00" or "OFF" if it's not set to keep warm. Now it's time to release the pressure. You have two options:
- Quick Release (QR): Carefully turn the steam release handle from "Sealing" to "Venting" (or press the release button, depending on your model). Stand back, as a strong stream of hot steam will escape. Do NOT put your hand or face directly over the valve. The float valve will drop when all pressure has been released.
- Natural Release (NR): Allow the pressure to dissipate on its own. The float valve will slowly drop over time (this can take 10-30 minutes, sometimes longer). This method is usually preferred for frothy foods or larger cuts of meat. For the water test, QR is fine.
- Open the Lid: Once the float valve has dropped completely, it's safe to open the lid. Twist the lid counter-clockwise until it unlocks, then lift it carefully, tilting it away from your face to allow any residual steam or condensation to escape safely.
- Discard & Clean: Pour out the water, dry the inner pot, and wipe down the lid. Congratulations, you've successfully completed your first pressure cook!
Understanding Key Pressure Cooking Concepts
Beyond the water test, a few concepts will empower you to use your Instant Pot effectively:
- The Sealing Ring: This silicone ring is crucial for an airtight seal. Ensure it's always properly seated inside the lid. It's removable for cleaning and can absorb odors, so some users opt for separate rings for savory and sweet dishes.
- The Float Valve: This is a key safety indicator. It rises when the Instant Pot is pressurized and drops when the pressure is fully released. Never attempt to open the lid if the float valve is still up.
- Preheating/Pressurizing Time: Remember that the cook time you set only begins *after* the Instant Pot has reached full pressure. The time it takes to build pressure isn't included in your recipe's cook time and can vary based on the amount and temperature of the contents.
- Minimum Liquid Rule: Reiterate the importance of always using at least 1 cup of thin liquid for most pressure cooking recipes to allow pressure to build and prevent scorching. For a deeper understanding of its mechanisms, check out Instant Pot Explained: Understanding Its Safe & Easy Pressure Cooking.
You've done it! You've navigated the unboxing, understood the components, familiarized yourself with the controls, and most importantly, completed the essential water test. This journey from box to first pressure cook has not only shown you how to use Instant Pot but has also built a solid foundation of confidence. Now that you're comfortable with its basic operation and safety features, you're ready to explore the endless possibilities of delicious, fast, and easy meals this incredible appliance can create. Happy cooking!
